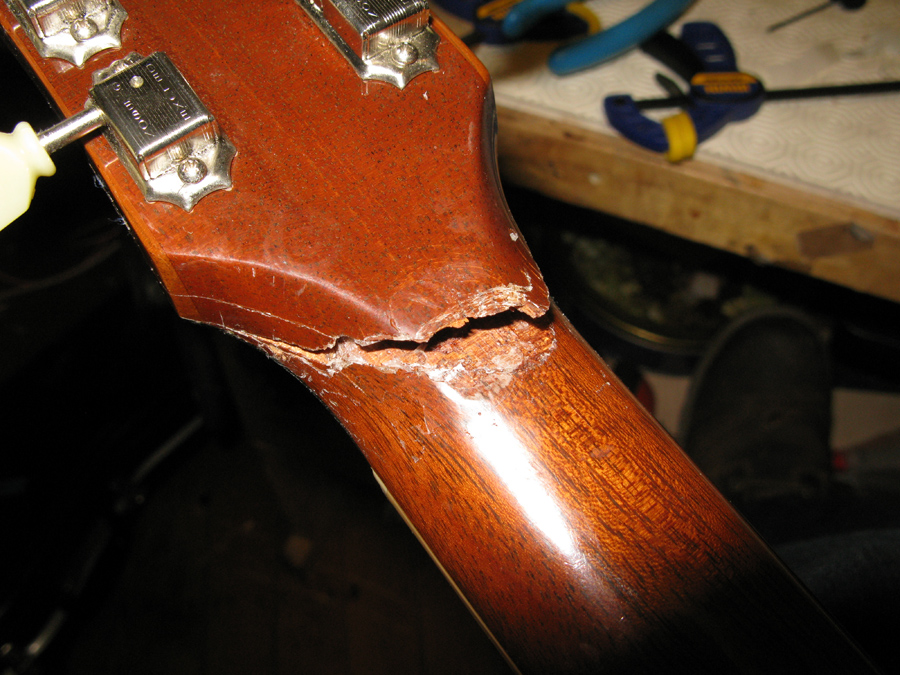
Headstock breaks happen all the time and the good news is they’re nearly always repairable. When glued properly, the original joint is usually stronger than the neck before the break. However, it is harder to fix a headstock if a previous repair had been attempted.
Glue and clamps
There are different glues that will work for this repair. I’ve had many headstock repairs come my way where the wrong glue was used causing the joint to fail. Alphatic glue such as Titebond I, is very strong. It tacks up quickly though so the joint needs to be easily accessible and clamped within a few minutes. The same applies to natural hide glue which is also perfectly strong for headstock breaks. However, If there is a secondary fracture or if the joint is difficult to access, these not usually the best choice.
Titebond ii is a good choice in some situations especially if you need extra time to work the glue into the joint. If it is a clean joint without voids most of the glue will squeeze out leaving a very thin layer that will not ‘creep’ once cured.
A slow-cure epoxy resin is a good option in many situations. Low heat can be used to help it run into the join and unlike alphatic resin, this glue also adds strength in the voids (if present).
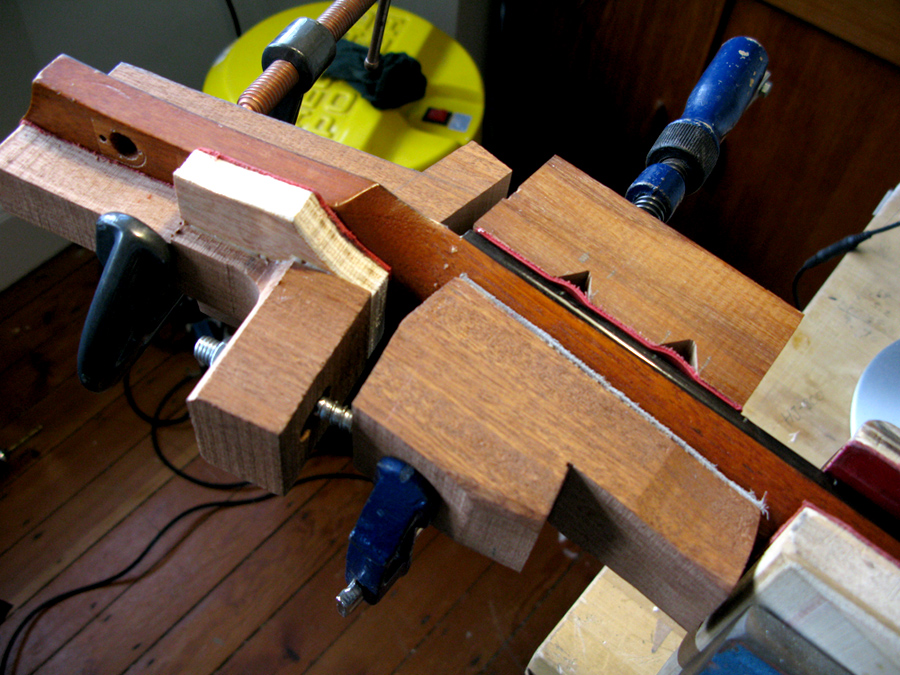
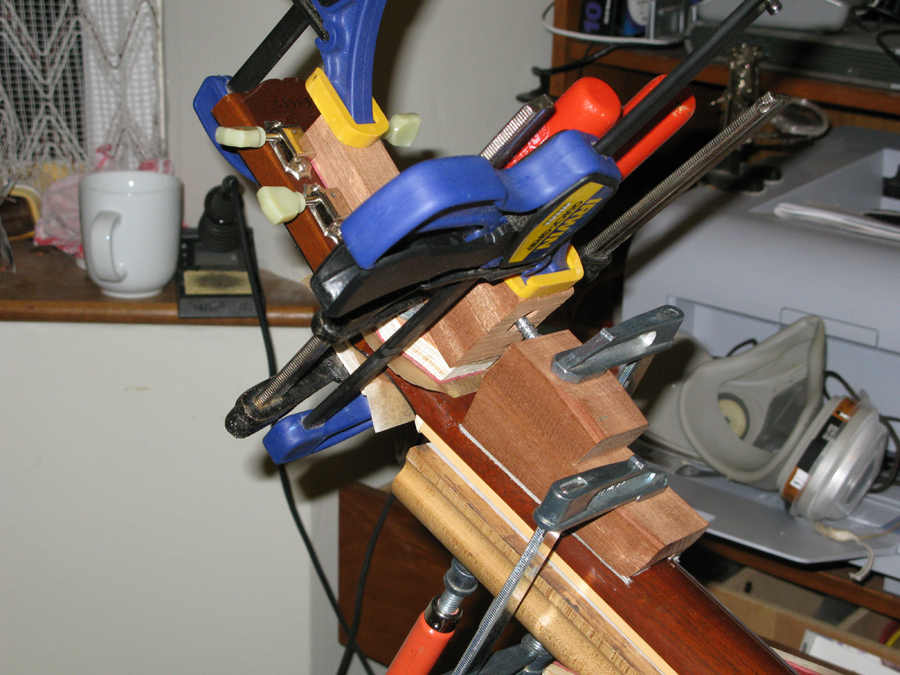
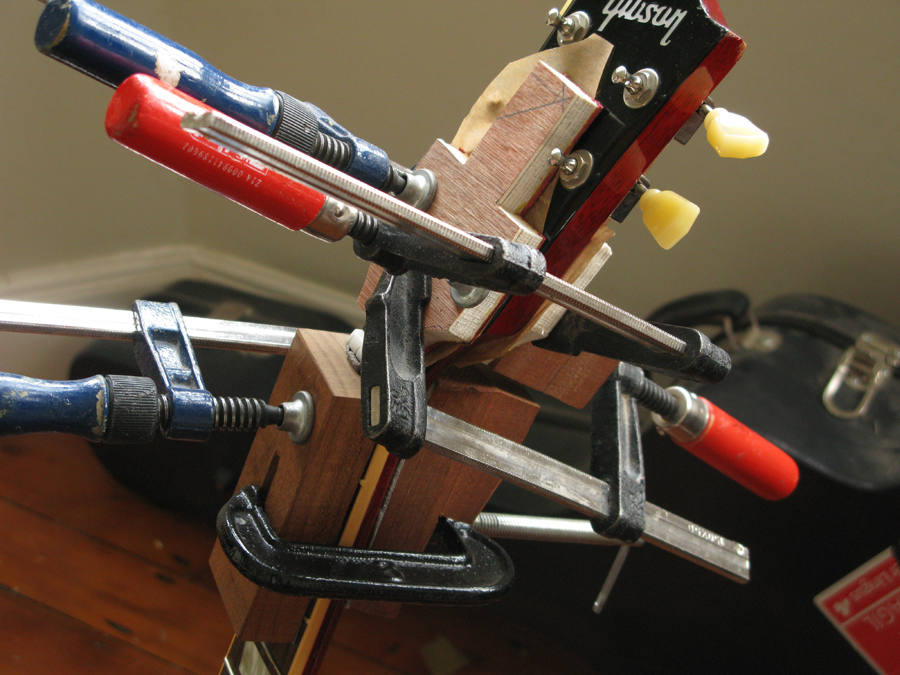
Often I use these glues with a specially designed clamping fixture which really helps with alignment. The fixture can also force the joint open enabling the glue to spread deep into the joint. Unlike conventional clamps which apply vertical pressure, the fixture can pull the joint together horizontally as well.
Clamping Fixture and Easy Repair In this case, I used titebond as the joint was clean, fully accessible and could be covered quickly.
Two types of Headstock repair
There are two common approaches. One is to provide a structural repair and live with some cosmetic irregularities. The other is a cosmetic repair which involves a certain amount of refinishing. An extreme case involves matching a custom colour and building up layers of clear lacquer to buff to a high gloss.
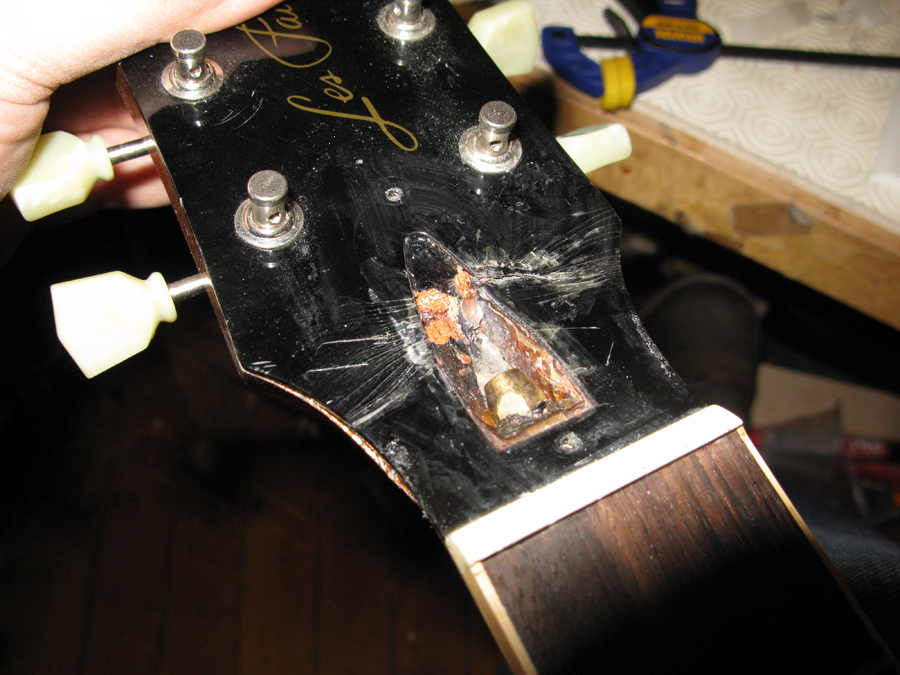
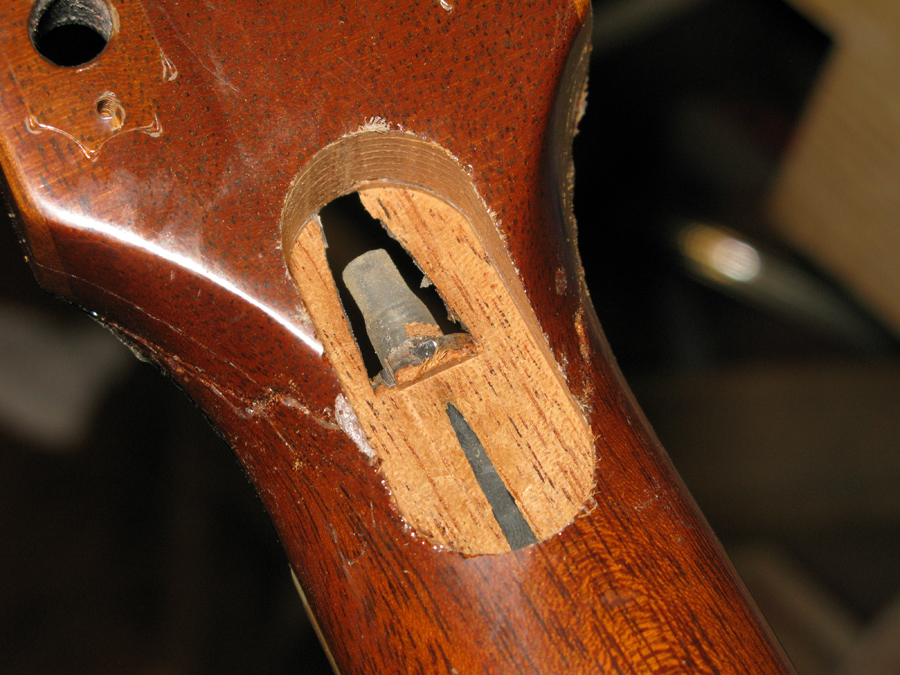
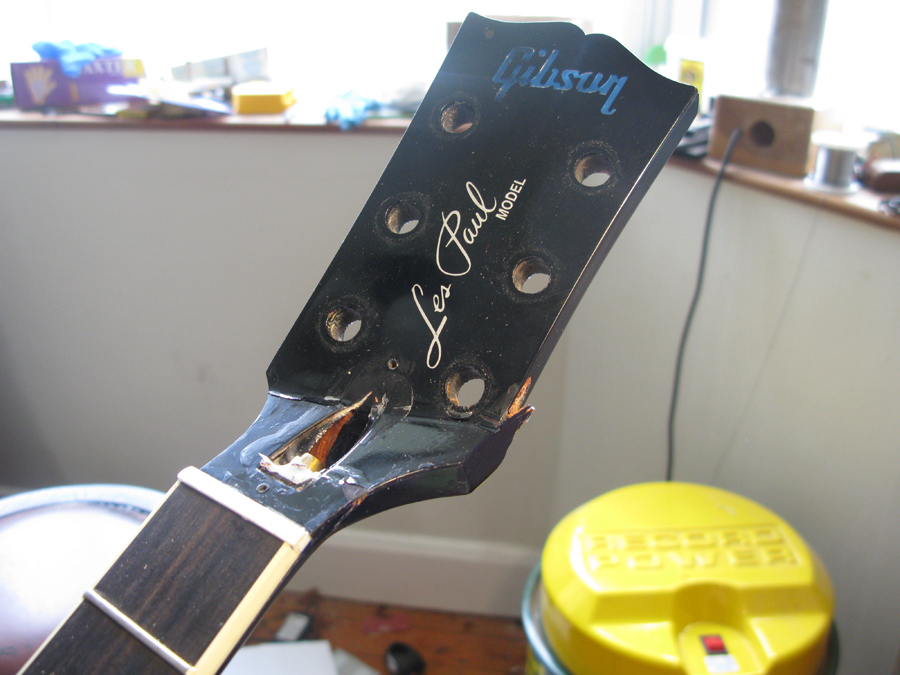
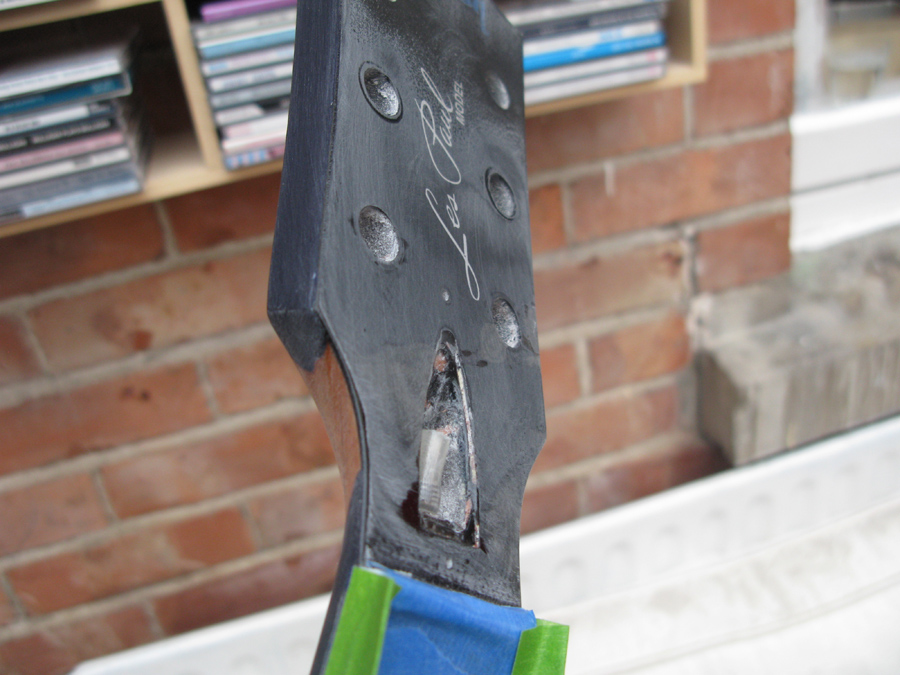
(below) Difficult joint and basic cosmetic repair Two previous repairs had failed so the joint needed extra reinforcement. The insert was touched up at the end without stripping back the finish. While the repair is visible, it doesn’t stand out too much and the neck feels smooth when playing.
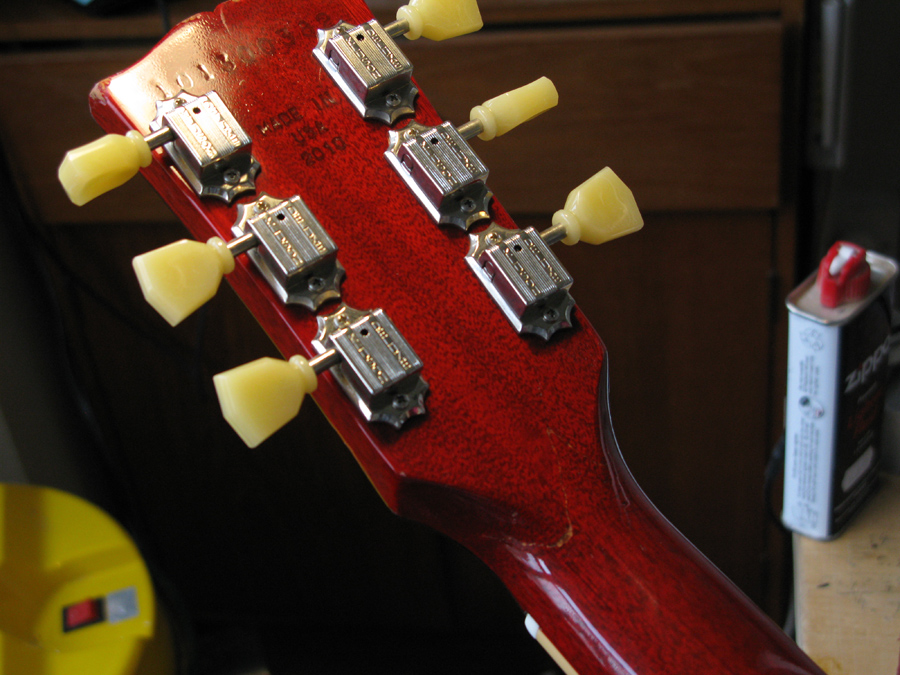
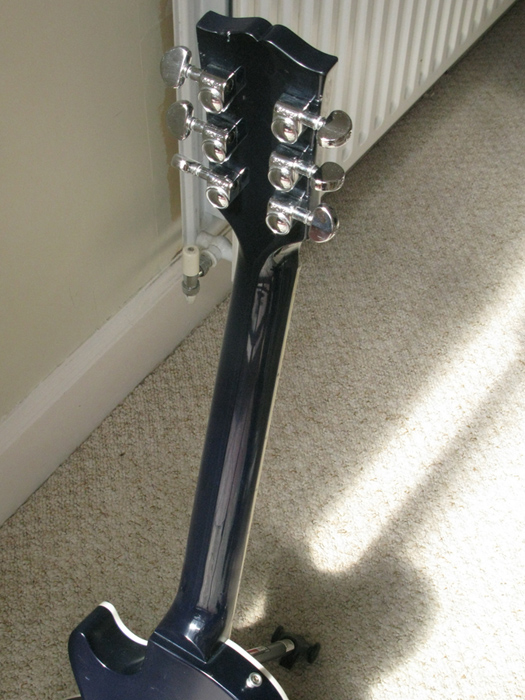
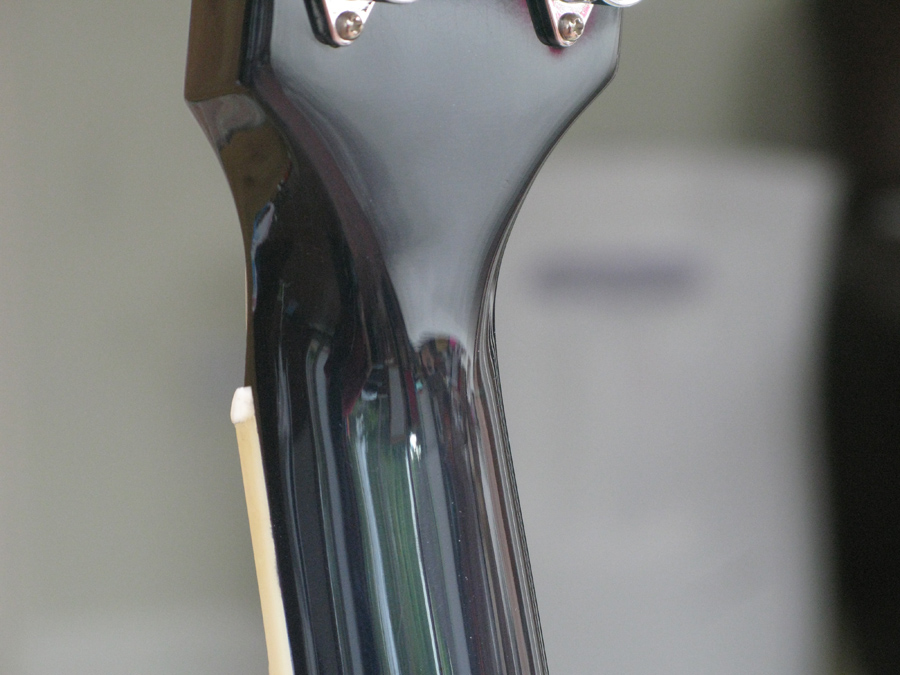
Normal Joint / non-cosmetic repair This was a tricky repair with the headstock completely detached. The Jig stopped the glued surfaces sliding while clamped. The repair looked reasonably well and didn’t warrant stripping back the finish. Ideally, a repair should look well at arms length and the damage should not be noticeable to the player. When you run your thumb over the damaged area when playing, there should be a smooth transition.
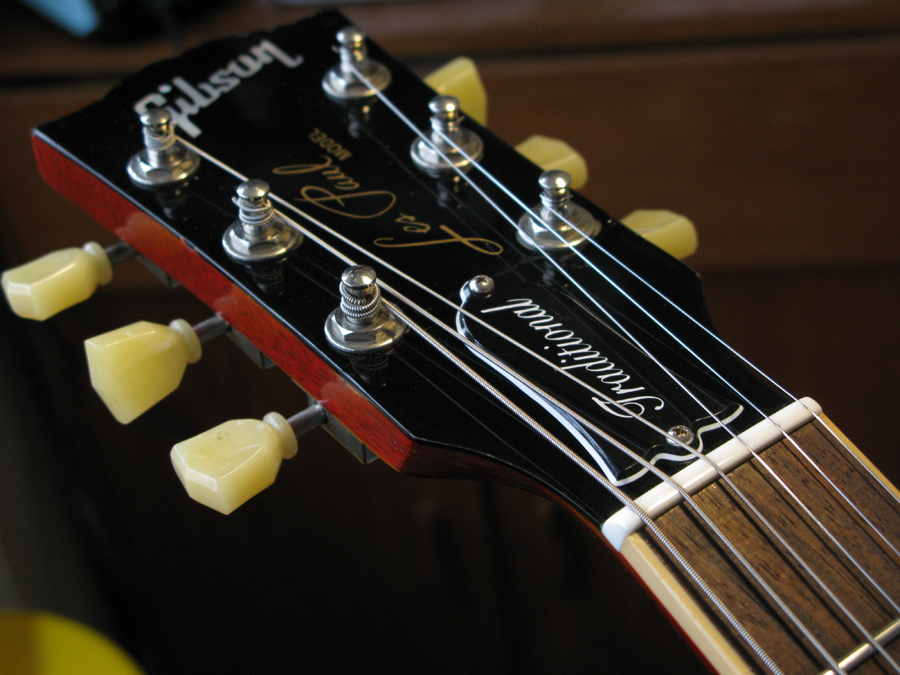
Bad break with full cosmetic restoration This was a challenging repair. The front face of the headstock was badly damaged as well as wood being badly mangled in a few places. The guitar’s colour was digitally matched and blended.